I'd researched photo stitching software a few years back, and only found complex and inadequate guides to sortof putting photos together with The GIMP. I use The GIMP as my primary post-processing and editing program, and am quite happy with its performance. For the uninitiated, it is full-featured photoshop workalike with active development. It is open-source and it is free. Check the link above for more info.
However, this post is not about The GIMP. I took my photos and set about finding a way to stitch them together for my coworker. A short Google search brought me to Hugin. I run Debian Linux, and Hugin is included in the standard repositories. I installed the application with its requisite dependencies and suggested optional related packages. The entire install footprint ended up at a mere 60MB. I ran through the steps presented to me by the program, and waited a few minutes for it to process the images (five 12 megapixel images from my Nikon D90). The results were astounding. This application is so well-developed that I had an incredibly impressive image in TIF format in a matter of 5 minutes, and there was nothing manual about the process.
I got to my usual coffee shop this evening, and thought I'd play a bit with some 30 second time exposures of the outdoor porch area. I wanted to see how Hugin handled this, given the differences in exposure and color temperature in such an environment, as well as knowing that the darker shots were underexposed due to the limitations I imposed on the camera when capturing the images.
Here are the images I started with, scaled down to 1024 pixels wide (if you click on them) for your viewing pleasure:
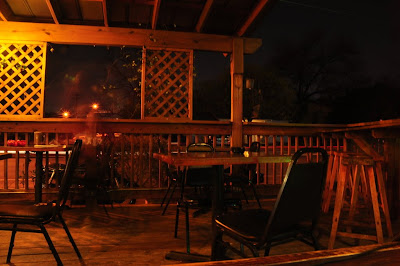
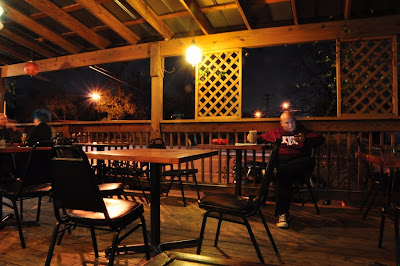
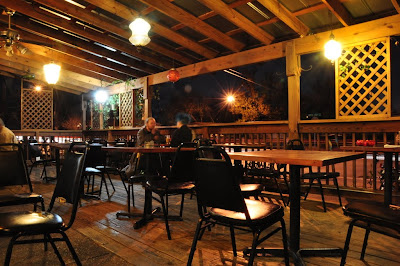
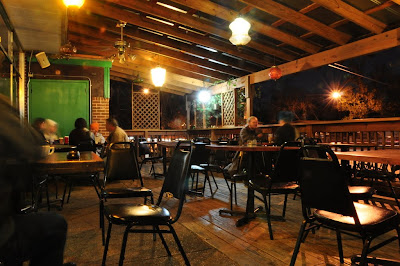
I simply dumped these photos into Hugin for processing, and out comes this, after about 3 minutes on my single-core not-current-technology laptop:
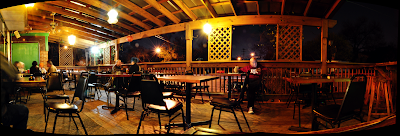 The photo (if you click it) has been scaled to 2048 pixels wide and converted to png format, but otherwise no post-processing has been done. The resulting TIF image was 5989x2037 pixels.
This is one impressive piece of software. There are many options that I haven't taken a look at yet, but this is what it produces out of the box, choosing the "photometrics" (which I believe evens out the exposure) and "difference" blend mode. Kudos go out to all of the developers of this software. This has got to be one hell of a project to get such a complex piece of software working so elegantly.
Check out the project page at:
http://hugin.sourceforge.net/
This is cross-platform software, and there are releases available for Windows, Mac OS, Linux, and FreeBSD. If you find this software as incredibly useful as I do, consider making a contribution to the project. There is a small link at the bottom of the home page for PayPal donation.


No comments:
Post a Comment